Hello world with Enriching Message in OSB
Jdev Ver :- 12.2.1.2.0
About the sample Code.
This tutorial is based on one simple webservice, which will tell us if an employee is active or not_active also it will tell us if employee does not exists. With the OSB we are trying to write the proxy web-service. The original webservice is written in SOA, if you know SOA the fine if not then also fine. first to make you little comfortable in OSB please download these 2 code and deploy as given.
1. SOA Service :- Please download the employeeService.jar file by clicking on the link. Once you are done with the download please open jdev and run the server. Hope you are familiar with em console and deployment process, if not follow the instructions given.
a) Login to em console of the application, using the username and password and click on the


b) Now click on default and then select deploy to this partition.

c) Choose the location of SAR (jar) file and then choose deploy.

d) Once deployed, test the service using the browser.
Service should be able to test using the browser and url
http://localhost:7101/soa-infra/services/default/EmployeeCheckService/employeecheckbpelprocess_client_ep
Now download the application from link and then open it in the jdeveloper. This will look like as given below.
1. Open the application in the jdeveloper, it will look like similar to below.

2. Now click on the project and right click and choose deploy and select project name for deplyment.

3. Choose option to deploy to server.

4. Now select the server as we are using integrated server( feature introduced in 12c).

5. Now deployed to the server and click on finish.

6. See the deployment log, which says deployment completed successfully.


8. Now click on the EmployeCheckPS and then now click on the run button, which will open the service console.

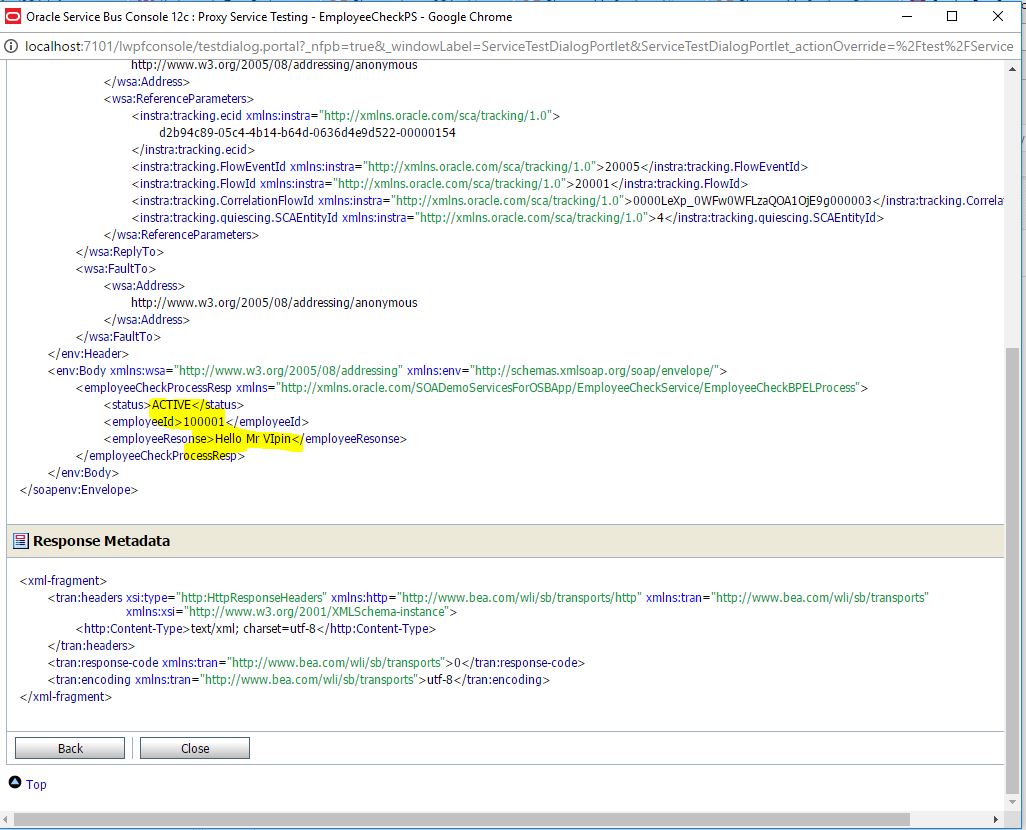
9. Now service bus console will open to test it. enter the name and id as given below.

10. Now it will provide the response as given below.
In the next post I will explain about building this sample.
No comments:
Post a Comment